With more and more people wishing to launch a blog to make money in Nepal, blogging has grown to be a rather popular pastime there. Not only can blogging help you reach out to possible clients or audiences, but it can also be a fantastic means of expression and even a side business. Should you intend to start a blog in Nepal, this page offers comprehensive direction and guidance to get you going.
Developing a Niche for Your Blog
You have to choose the blog niche you will write in before beginning your blogging career. Establishing the correct niche can prove difficult. You should spend some time investigating what Nepal already has to offer and decide what distinguishes your blog from others.
Consider subjects personally relevant to other Nepalese bloggers as well as yourself. Think about penning a piece on Nepal's present affairs or offering insightful guidance on subjects like money, travel, or professional development. You could also wish to concentrate on a particular area or city; this will enable you to relate to local readers who might value your observations more strongly.
Before choosing a niche, do your research because some pay more than others. If you enjoy technology or finance, a blog on either topic could present more profitable prospects than others. Think about the kind of material you enjoy writing; if you enjoy creating narratives about trip experiences, then think about concentrating on travel-related subjects. Likewise, if sports motivate you, look at the opportunities for producing material on sports-related subjects.
How Much Can a Blogger in Nepal Earn?
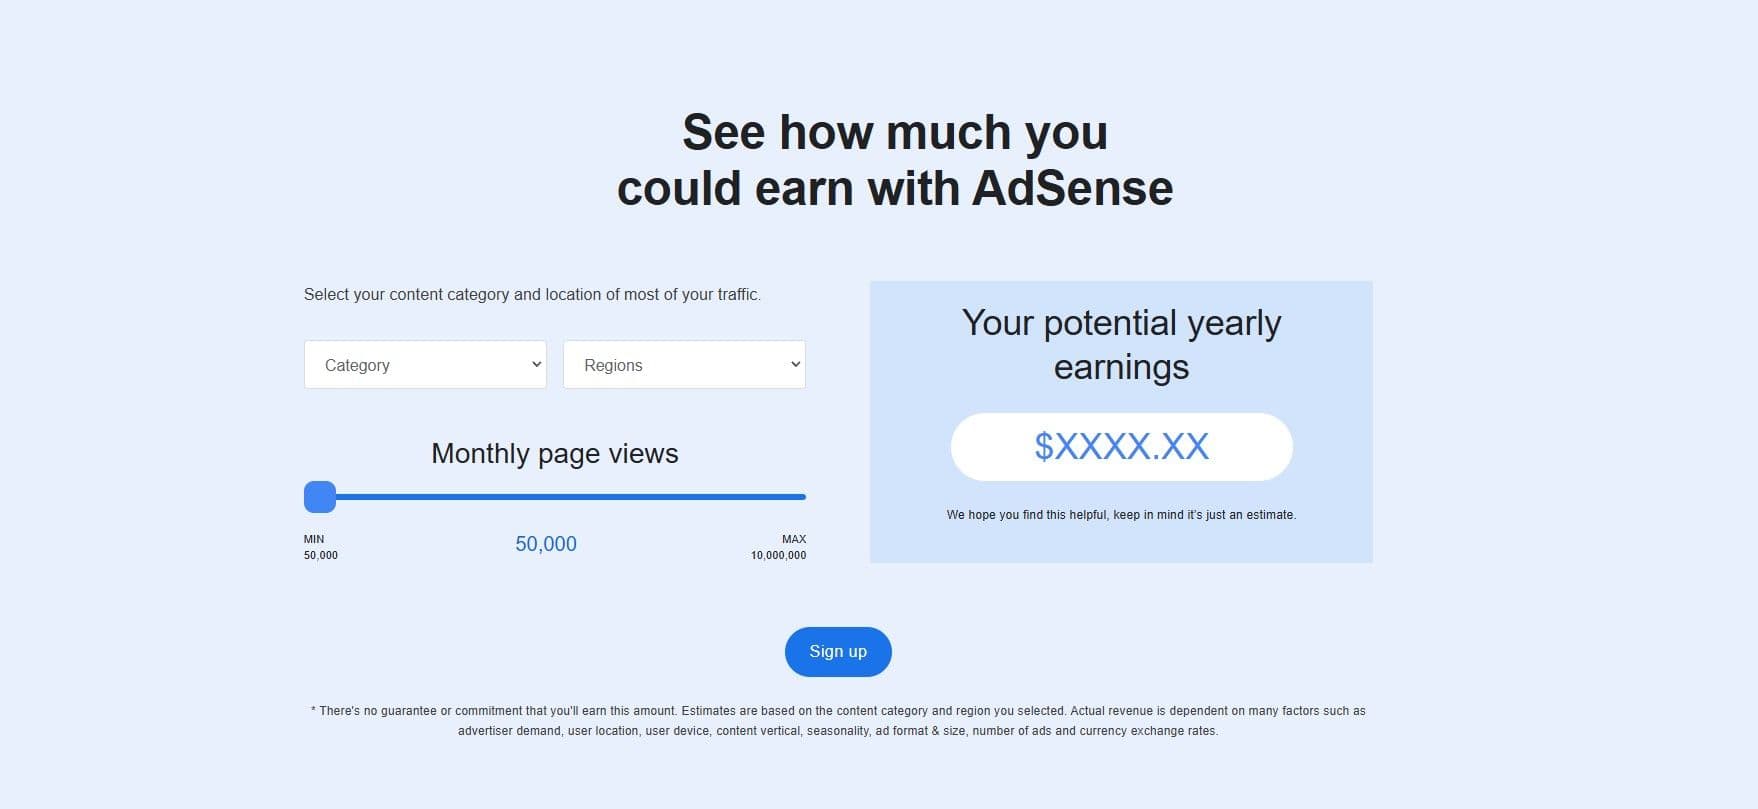
The response to this question relies on several elements, including blog type, content quality, page views, promotion techniques, and blogging experience. While seasoned bloggers who produce quality content and use successful marketing strategies often earn between NRs 20,000–50,000 per month or more, Nepali bloggers should expect to make anywhere from NRs 5,000–10,000 every month. Their income level also depends much on elements like the volume of traffic their blogs create. Another way bloggers might augment their income is through sponsored postings and affiliate marketing with businesses. You might also get in touch with other Nepal bloggers to find out their income range. Linked below is a Google Adsense tool that allows you to determine how much you could make with a given number of visits in a particular niche.
How Should One Begin Blogging in Nepal in 2025?
[Free Option]
Whether you are new to blogging or an experienced blogger wishing to start anew, there are lots of free options accessible for everyone wishing to build a successful blogging website in Nepal. With so many blogging sites providing free hosting, starting your website with just a few clicks is simple. Search for platforms with easy-to-use design tools that simplify content creation compared to past times. Consider those with ready-made templates to avoid learning web design from scratch.
For everyone who wants to start a blog, Google Blogger is free and provides plugins, widgets, and templates among other customizations. It also offers statistics to enable you to monitor the state of your blog. Starting Google Blogger just requires registering using your Gmail account and selecting from hundreds of suggested themes or topics. You can start producing posts with either the HTML code editor or the text editor once registered.
For beginners, Wix is also a fantastic option because it offers hundreds of pre-made designs that can be personalized any way you want in addition to a free platform. All you have to do once you have selected your template is add your text and images and hit publish—quickly turning your blog into a professional website. Wix also provides lots of tools, including contact forms and comment sections, SEO optimization, and contact forms, so you could start right away in hardly any time at all!
The free edition of these blogs includes subdomains. Create a blog, "knowledgeaid," to better grasp; your blog URL will be knowledgeaid.blogger.com or knowledgeaid.wixsite.com. Moreover, the free edition does not provide complete customization and monetization; these websites can be quite difficult. Therefore, before you start your blogging adventure, I would advise making a small investment.
[Paid Option] Domain and Hosting: What You Will Need
Choose a domain name in step one.
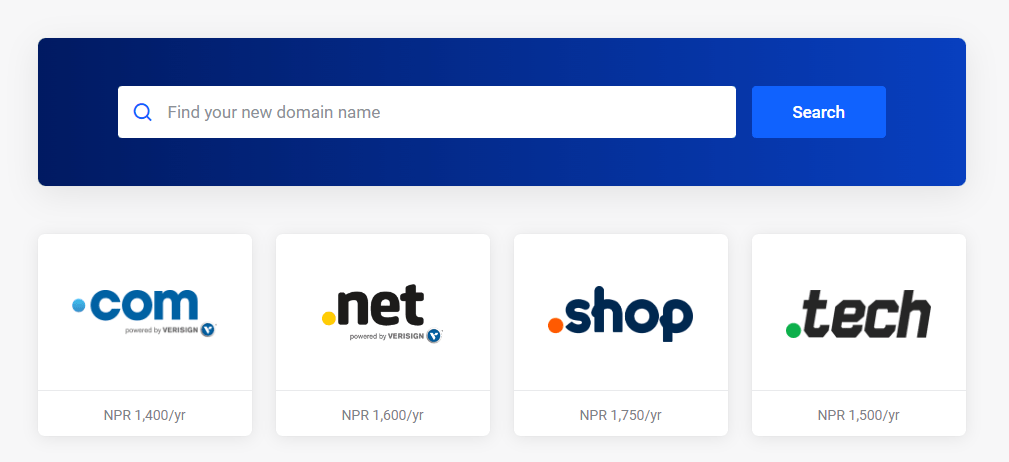
Your domain name is your virtual identity for your website, appearing on listings with search engines as well as on browser URL lines. Choose a domain name that best describes your business and is easiest to remember. Any number of companies offer domain names and hosting for purchase. You can begin producing material for your website once you have those two items configured. Choosing a domain name calls for some thought in a few areas:
- Keep it brief and memorable. People find long, complicated domains difficult to type correctly and readily forgotten.
- Make sure it speaks to your company or website. Visitors will find a domain unrelated to your content confusing; thus, it will not help you rank in search engines.
- Avoid using numbers or hyphens if at all possible. These can make your domain look spammy and be difficult to recall.
- Before registering a domain, find out if the one you wish is accessible.
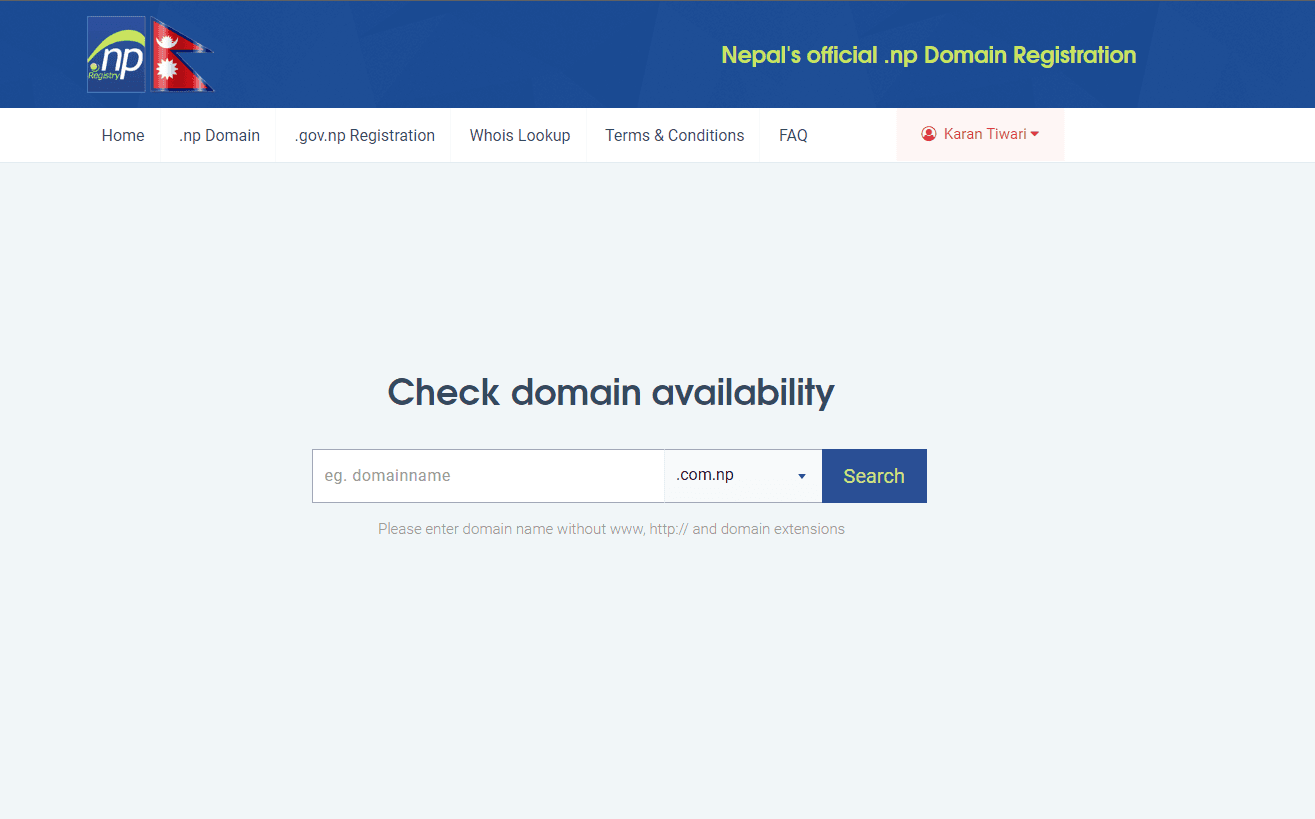
If you are launching a website in Nepal, you could opt for a .np domain extension if at all feasible; this will also improve local search engine optimization. Once you have selected a domain name, you may register it straight via the Nepal government's Domain Registration System or via a web hosting or domain service. Should you be registering for a personal domain, you will need your citizenship; if you are registering the domain for your business, you will need your company registration and PAN documentation.
Second: Prepare Hosting
Setting up hosting comes next, assuming you have registered a domain name for your website and already finished Step 1. Hosting your website is effectively leasing space on a server.
If you're just starting, you might want to go with a shared hosting arrangement—usually the most reasonably priced choice. When selecting a hosting provider, consider a few factors, including whether they have an uptime rate, customer support available around the clock, and what type of security mechanisms they employ. Until you get to know blogging, basic shared hosting in Nepal will be plenty for you; you do not need to purchase a comprehensive hosting package. Should it be necessary, you can always migrate to better hosting.
We advise taking up Babal Host. Their customer service is first-rate, and their hosting is reasonably priced and consistent. Also obtained from the Babal host is your domain name.
Third step: Install WordPress
Install WordPress, assuming you have registered a domain name and selected a decent web hosting supplier. Wordpress allows you to either enhance an existing website or create a brand-new one. Most hosting companies already have a 1-click WordPress installation built in. It's rather simple, then.
- Enter into your web hosting Control Panel or cPanel.
- Navigate to the Websites section and select Install Wordpress.
- Finish the installation according to the on-screen directions. Some fields, such as site title, tagline, and database name, may prompt you to enter them.
- Adding /WP-Admin to the end of your domain name (e.g., www.example.com/WP-Admin) will enable you to log in to your wordpress site once the installation is finished.
Fourth Step: Create Your Site
If you have already finished steps 1–3, now is the time to concentrate on step 4: designing your wordpress site. There are several reasons why the layout of your website matters. It will first enable you to ascertain the visual appeal and usability of your website. Second, it might affect your efforts at search engine optimization (SEO). Third, it might help you stand out from the competitors.
Regarding website design, there are a few basic considerations to keep in mind. Check first that your website is responsive—that is, it will change to fit any screen size. Second, include premium images relevant to your brand and content. Sites like Pixabay, Freepik, and others provide free images and vectors. Third, pick a color palette that accentuates your brand colours and is simple on the eyes. Fourth, choose a a readable, easy-to-learn typeface.
If you wish for something distinctive, you can buy a premium theme; otherwise, there are thousands of free themes accessible. Since a free theme like Astra offers a lot of personalization and you can always change it to suit your taste, I would advise choosing one.
It's time to begin adding items after you have chosen a theme. You have pages, posts, pictures, and more to add. Make sure you include pertinent keywords all around your website so that, should someone search for those terms, they can find them fairly quickly.
Step 5 (Optional): Add More Plugins to Enrich Your Site
You, as the owner of a website, want it to be successful. You also want to ensure it runs faultlessly and is safe. You must have the correct plugins set up on your WordPress site if you are to accomplish this. The free plugins your PHP site needs are as follows:
- Any wordpress site should have Yoast's plugin since it will enable you to maximize your site for search engines.
- By storing static files and removing the necessity for server requests for every page load, W3 Total Cache speeds up your website.
- Wordfence is among the most often needed plugins for a WordPress website. Wordfence will assist you in defending your site with a firewall, as many malware attacks on PHP require.
- EWWW Image Optimizer: This plugin helps your site load images more quickly by optimizing them.
- This plugin lets you create, oversee, and publish forms on your WordPress website.
- This plugin offers your wordpress site a broad range of capabilities, including security improvements, performance boosts, and social media integration.
- The Updraft Plus calls for regular backups for your site. To further security, this plugin lets you create free backups and upload them to Google Drive.
How To Write On Your Blog

Starting a blog post can first be daunting, but there are strategies to simplify things. Choose first who you are writing for and what subjects would most benefit them. Once you know this, do extensive study on the subject to ensure you have enough evidence to boldly write about. Try also dissecting large concepts into smaller bits so that every post is doable and centred on one issue.
Depending on whether each article is meant for younger readers or more experienced professionals, customize the language used in each one using simple words or more sophisticated terms. Blogging in the Nepali language will simply damage your SEO. Don't obsess over grammar or structure; you can always make corrections later. Regular blog updating is the most crucial action you should take. The search engine optimization of your blog depends much on regular posting.
Another absolutely important step you should take while producing material is keyword research. Effective blogging mostly depends on knowing what people are looking for and using suitable keywords in your work. Online tools like Google Trends, Google AdWords Planner, and Ubersuggest help one to do keyword research for material on blogging in Nepal. Users of these sites can type search terms and find which other words or phrases are related or most often used. Knowing what terms people search for helps bloggers create titles and material that will probably show up better on search engine results pages (SERPs). These tools also give bloggers information on how often particular keywords have been searched for over time so they may create material in line with trends. Once you have possible keywords, apply them all over your work to maximize your post for search engines.
Earning From Your Blog
Monetizing a blog is crucial for effective blogging in Nepal. Two well-known tools for running ads on websites, Google Adsense and Ezoic, are among the best ways you might profit from your blog. Working together, these two strong platforms will help you quickly create income from your blog and profitably operate online.
Google AdSense enables you to display relevant ads on your page, tailored to your content and visitor count. Ezoic, on the other hand, offers a further layer of data analysis by automatically testing several ad placements and sizesand optimizing ad performance. This mix gives more accurate targeting choices for visitors, optimizing the earning potential of your blog.
Combining Google AdSense with Ezoic will let you quickly get a comprehensive understanding of how users interact with the offered ads. First, you have to register using both services and link them under the same account. Once you do this, both services will give you advanced tools to maximize blog ad revenue. Once setup is complete, you can begin displaying ads on your website and monitor their performance. Every service's settings can be changed as necessary to fit your particular blog best. Ezoic also lets you use A/B testing to identify the kinds of ads and placements best for your website. This will guarantee that the traffic to your blog is generating the most money for you, maximizing your Google AdSense and Ezoic earnings.
Finally
Starting a blog is a realistic aim and one of the profitable means of income available in Nepal. Anyone can launch a blog using the correct instruments and direction. The secret is to have patience, work hard, and believe in yourself, whether your initial goal is to invest in a website or begin with free blogging sites. Investigating current affairs, producing outstanding material, and leveraging social media will also help you attract more readers and followers. Remember also that blogging is a continuous process; thus, be ready for the long run. Using digital marketing tools, improving writing quality, correctly configuring one's website, and interacting with an audience will help to guarantee a profitable blog capable of earning money online.
