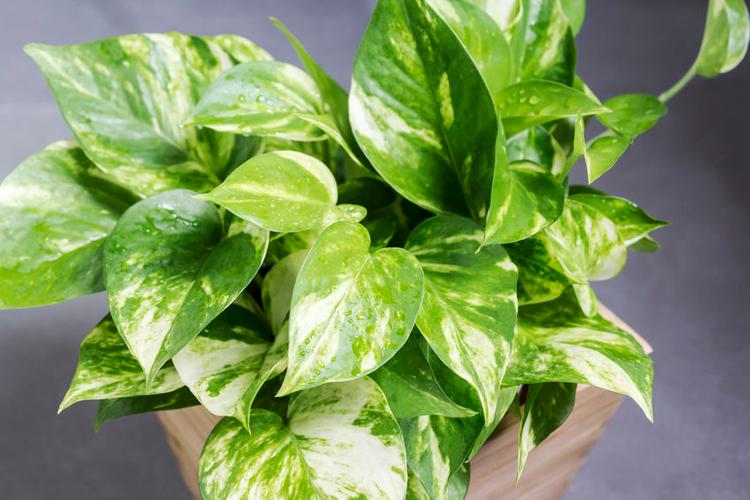
All Blog Posts How To Make Money From Instagram In Nepal February 7, 2024 Make Money Top 10 Ways To Earn Money Online In Nepal December 25, 2023 Make Money How To Ship From Alibaba To Nepal – A Step By Step Guide November 5, 2023 How To Guides Top 10 Best Beaches Of South Australia October 19, 2023 Travel Top 5 Best Mixer Grinder Price in Nepal: Buy Mixture Grinder Online October 17, 2023 Home & Lifestyle Dashain Essay In English For Students 2080 October 17, 2023 Education Tips To Get A Job In Nepal June 4, 2023 Finance How To Match Clothes And Shoes For Guys March 14, 2023 Fashion How To Earn Money Through Blogging In Nepal March 11, 2023 Make Money How To Earn Money Online In Nepal Without Investment March 9, 2023 Make Money Get Paid for Your Opinion: A Guide to Online Surveys in Nepal February 1, 2023 Make Money Online Business Ideas in Nepal: A Beginners Guide to Success January 30, 2023 Finance | Make Money ChatGPT Prompts To Create A SEO-Optimized Blog Post In Minutes January 24, 2023 Artificial Intelligence Can AI-Generated Content Be Detected? January 11, 2023 Artificial Intelligence Top 8 Best Clothing Brands In Nepal For Men | TechMandap December 26, 2022 Home & Lifestyle | Fashion List of The Top 10 High Salary Jobs in Nepal 2025 December 25, 2022 Finance | Make Money Best Hosting Providers In Nepal | A Comprehensive Guide For Business Owners December 13, 2022 Technology The Best Online Food Delivery Services In Butwal December 12, 2022 Home & Lifestyle How To Start Blogging In Nepal 2025 December 8, 2022 How To Guides Cryptocurrency In Nepal: Everything You Need To Know November 29, 2022 Finance Online Typing Jobs in Nepal: The Best Way to Earn Money Online November 20, 2022 Make Money Money Plant in Nepal: Uses, Benefits, Health Properties November 10, 2022 Home & Lifestyle Apps To Earn Money In Nepal 2025 July 30, 2022 Make Money The Complete Guide To Affiliate Marketing In Nepal July 22, 2022 Make Money How To Earn Money Online In Nepal | A In-Depth Guide 2023 July 9, 2022 Make Money Youtube Automation: Ways To Automate Your YouTube Channel With These AI Tools May 28, 2022 Make Money List Of The Highest Paying Part Time Jobs in Nepal March 24, 2022 Make Money | Finance How To Order From Amazon In Nepal? – A Helpful Illustrative Guide February 28, 2022 How To Guides 10 Easy Ways to Earn Passive Income in Nepal February 26, 2022 Make Money Everything You Need To Know About UPI In Nepal February 19, 2022 Technology How to Fix Missing YouTube Monetization (Re)Apply button August 30, 2021 How To Guides Grammary Premium | How To Get Grammarly In Nepal August 23, 2021 How To Guides Best Budget PC Build In Nepal | The Ultimate Guide With Components August 1, 2021 Computers New ISP In Nepal – CGNET ( New Internet ) June 3, 2021 Technology